

Proper Tesla windshield calibration ensures safe and effective driver assistance features like Autopilot and Crash Avoidance. It involves adjusting camera position for clear road visuals, crucial for lane departure warning, automatic emergency braking, and adaptive cruise control. Regular calibration at auto body services prevents defects, enhances safety, improves driving experience, and avoids costly repairs. Follow step-by-step instructions to calibrate, test in real-world scenarios, and maintain optimal system performance.
Tesla owners often wonder about the magic behind their car’s intuitive driver assistance features. The secret lies in a precise Tesla windshield calibration process, fine-tuning the vehicle’s sensors for optimal performance. This article delves into the significance of accurate Tesla windshield calibration and its impact on enhancing safety and driving experience. We’ll guide you through the process, highlighting benefits and providing a step-by-step approach to ensure your car’s advanced driver assistance systems work seamlessly.
- Understanding Tesla Windshield Calibration Process
- Benefits of Accurate Driver Assistance Activation
- Step-by-Step Guide for Optimal Results
Understanding Tesla Windshield Calibration Process
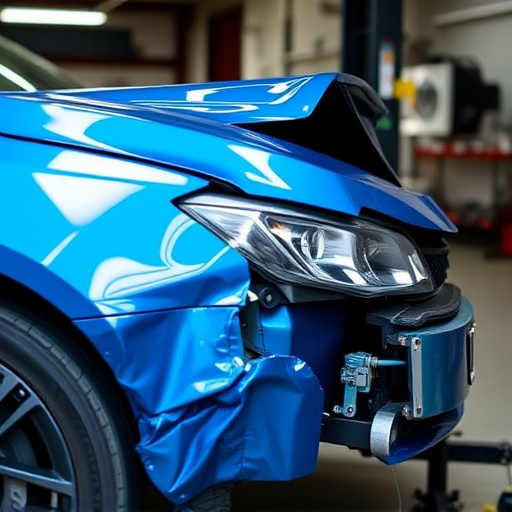
Tesla windshield calibration is a precise process that ensures the optimal performance of the vehicle’s driver assistance systems. It involves adjusting the angle and position of the camera mounted behind the windshield to capture clear and accurate visuals of the road ahead. This critical step is often overlooked but plays a pivotal role in the functionality of advanced driver-assistance systems (ADAS), including features like lane departure warning, automatic emergency braking, and adaptive cruise control.
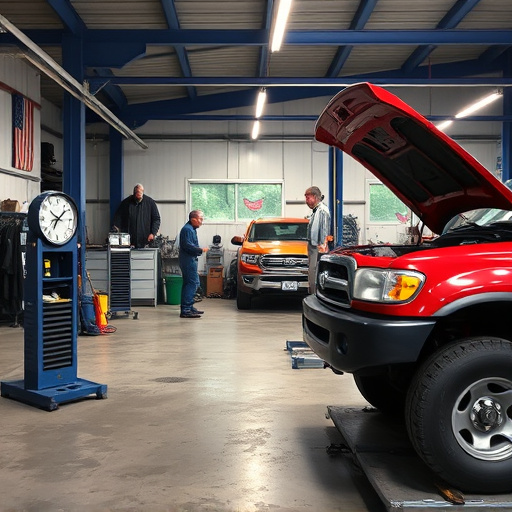
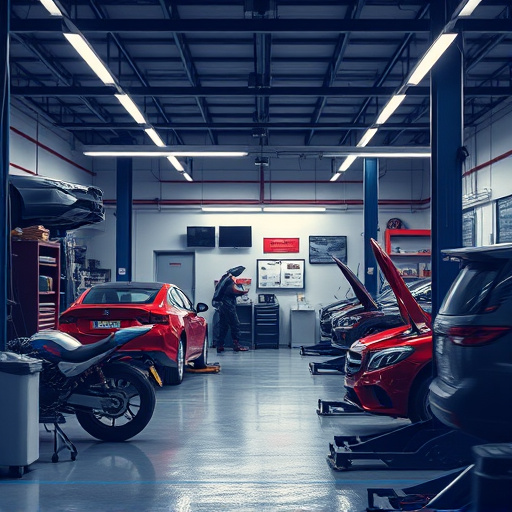
The process begins with thoroughly inspecting the windshield for any defects or damage that could impair camera visibility. Next, specialized tools are used to calibrate the camera’s focus, ensuring it aligns perfectly with the vehicle’s sensors. This calibration guarantees that the images captured by the camera are clear, detailed, and free from distortion, allowing the ADAS systems to interpret them accurately. Many auto body services and collision repair shops offer this service, emphasizing the importance of regular calibration for safe and efficient driving assistance.
Benefits of Accurate Driver Assistance Activation
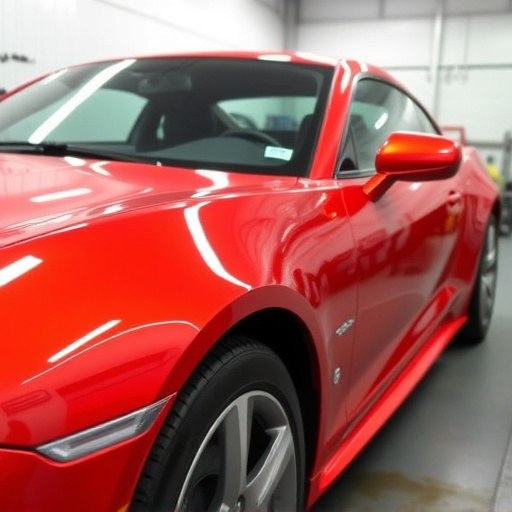
Accurate Tesla windshield calibration is paramount for enabling seamless and safe activation of driver assistance features. When your car’s windshields are perfectly aligned and calibrated, it allows for precise tracking and sensing by advanced systems like Autopilot and Crash Avoidance. This results in improved safety as these systems can accurately gauge obstacles, lane markings, and other vehicles on the road, leading to more confident and responsive driving assistance.
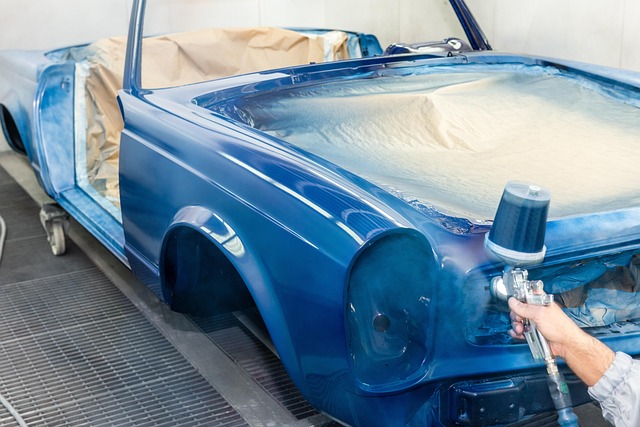
Beyond enhancing safety, proper Tesla windshield calibration contributes to a better overall driving experience. Well-calibrated windshields ensure that sensors and cameras have unobstructed views, which is crucial for optimal performance of various driver assistance technologies. It also reduces the need for frequent adjustments or recalibrations, saving time and money in the long run compared to repairs like bumper repair or even comprehensive car bodywork services for issues stemming from poor alignment. For instance, a correctly calibrated Mercedes Benz repair (referring to any high-end vehicle calibration) ensures that every feature works in harmony, providing a smoother, more intuitive driving experience for owners.
Step-by-Step Guide for Optimal Results
Performing a Tesla windshield calibration is essential for achieving optimal performance in your vehicle’s driver assistance features. Here’s a step-by-step guide to ensure precise and accurate results, enhancing your overall driving experience. Begin by ensuring your car is parked in a safe, flat location, away from traffic and obstacles. Next, power on your Tesla and navigate to the vehicle settings menu, specifically looking for the calibration options related to the windshield or driver assistance systems. Initiate the calibration process, which may involve a series of on-screen prompts and instructions. During this step, carefully follow any visual cues or beeps to ensure accurate alignment.
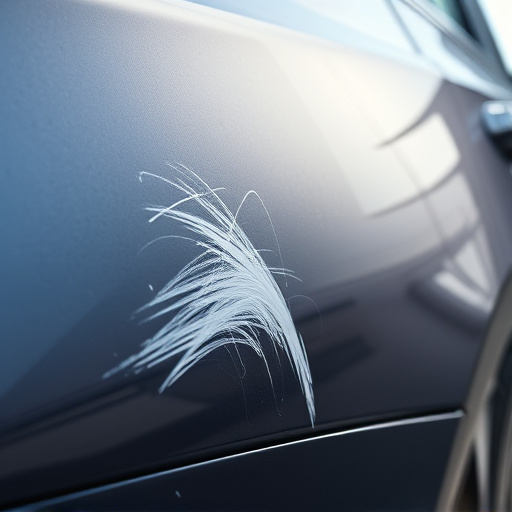
Once the initial calibration is complete, test the system’s functionality by simulating real-world driving scenarios. This could include parallel parking, lane changes, or navigating through tight spaces. If adjustments are needed, return to the settings and repeat the calibration process until you achieve the desired precision. Remember, a properly calibrated windshield ensures that your Tesla’s driver assistance features react accurately and promptly during critical driving situations, enhancing safety and peace of mind on the road. In case of any mishaps or damages leading to car collision repair or paintless dent repair needs, visit a trusted collision center for professional services.
Tesla windshield calibration is a vital process that ensures your vehicle’s advanced driver assistance systems (ADAS) function at their peak. By accurately calibrating your windshield, you enable features like Autopilot and lane keeping to activate precisely, enhancing safety and driving experience. Following the step-by-step guide provided in this article will help ensure optimal results, allowing you to navigate roads with confidence and peace of mind.