
Tesla windshield calibration is a vital process for maintaining the performance of ADAS features like Autopilot and lane-keeping assist. It aligns cameras and sensors with the vehicle's frame using specialized tools, ensuring precise data delivery. Regular calibration after repairs is crucial for safety and efficiency in semi-autonomous driving, enhancing the driving experience and vehicle reliability. A step-by-step guide provides instructions for achieving accurate calibration, from powering off the vehicle to testing on a safe drive.
“Tesla owners often marvel at their car’s advanced technology, but understanding key maintenance procedures like Tesla windshield calibration is essential. This comprehensive guide delves into the intricacies of this process, equipping you with valuable insights. We’ll walk you through the understanding of Tesla windshield calibration, the tools needed for alignment, and step-by-step instructions for ensuring your vehicle’s cameras are perfectly aligned. Master these techniques to enhance your Tesla’s safety features.”
- Understanding Tesla Windshield Calibration Process
- Tools and Equipment Required for Alignment
- Step-by-Step Guide to Camera Alignment and Testing
Understanding Tesla Windshield Calibration Process
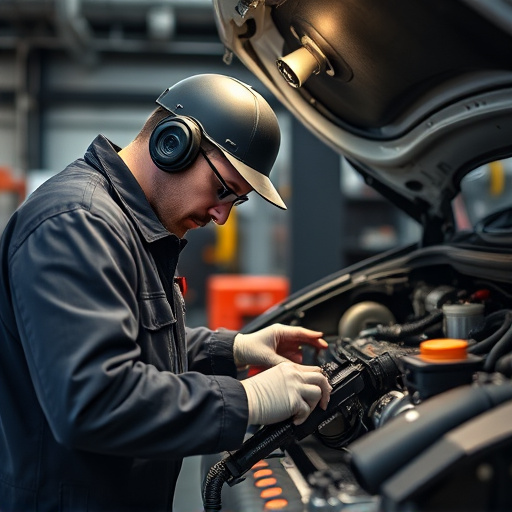
The Tesla windshield calibration process is a meticulous procedure that ensures your vehicle’s advanced driver-assistance systems (ADAS) function optimally. It involves adjusting and fine-tuning the camera alignment and sensors mounted behind the windshield to deliver precise data for features like Autopilot and lane-keeping assist. This critical step, often overlooked, is crucial in maintaining the safety and efficiency of Tesla’s semi-autonomous driving capabilities.
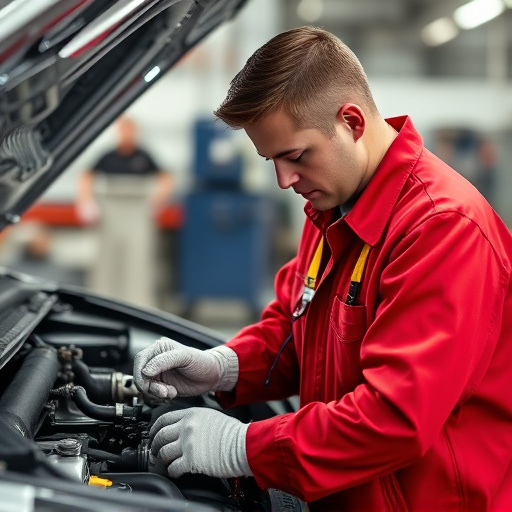
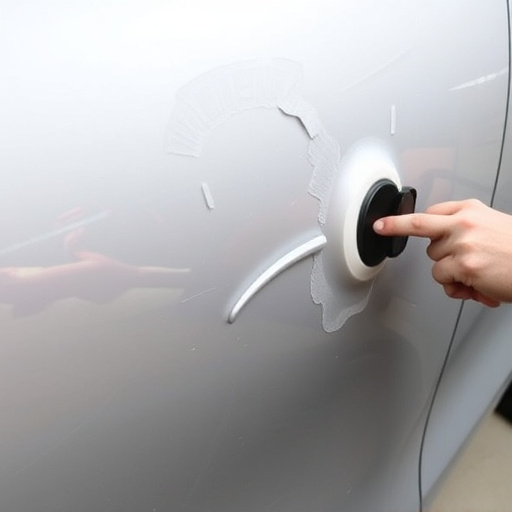
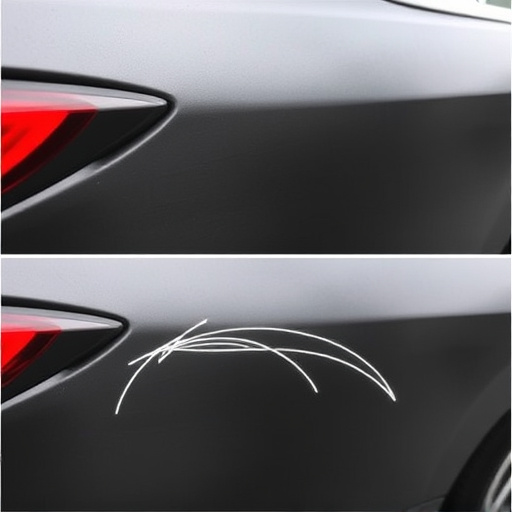
Understanding the calibration process is essential for owners looking to preserve their vehicle’s performance after any car collision repair or fender repair. Body shop services specializing in Tesla vehicles employ specialized tools to detect even subtle misalignments, ensuring that your windshield and cameras are perfectly aligned with the vehicle’s frame. This meticulous attention to detail guarantees that your Tesla’s advanced safety systems operate at peak accuracy, enhancing both your driving experience and peace of mind.
Tools and Equipment Required for Alignment
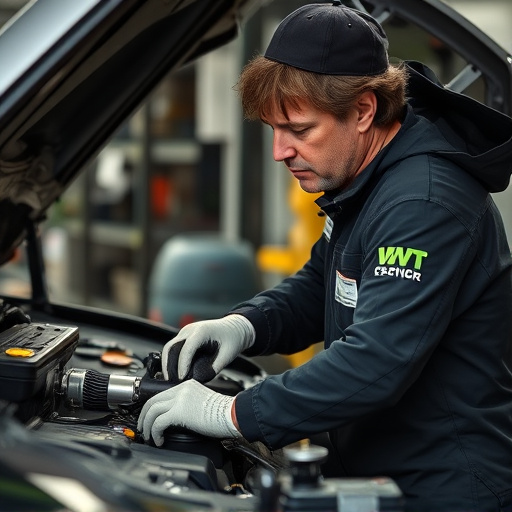
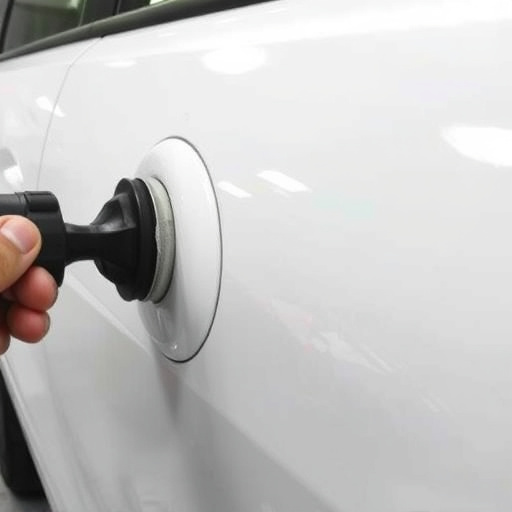
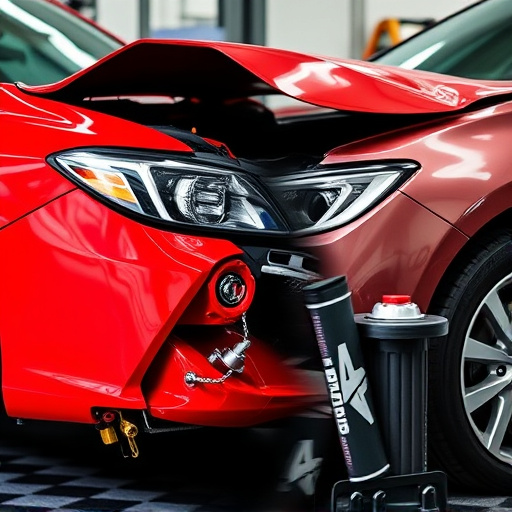
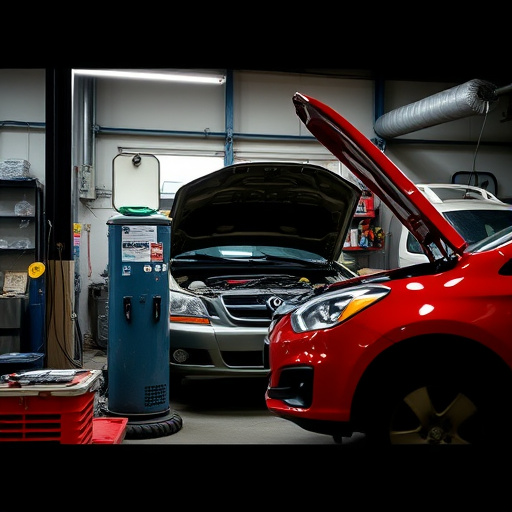
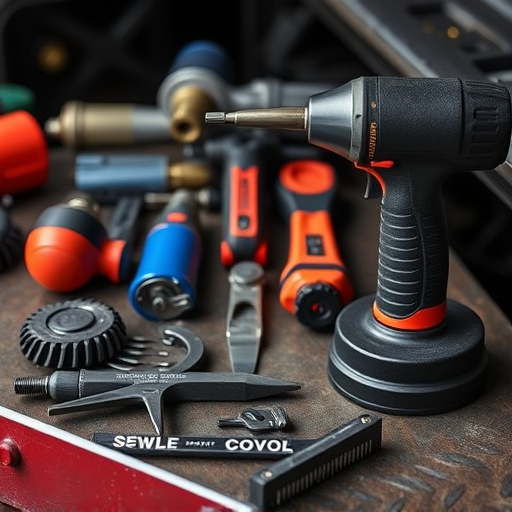
To accurately perform a Tesla windshield calibration and camera alignment, several specialized tools are essential. These include laser measurement devices for precise distance calculations, advanced software that can analyze and adjust camera angles, and specialized equipment designed to ensure accurate positioning of the windshield. For instance, an electronic level helps maintain perfect horizontal and vertical alignment, while adjustable clamps securely hold the glass in place during adjustments.
In a professional auto repair shop or fleet repair service, these tools are critical for achieving spotless results in classic car restoration projects involving Tesla vehicles. The investment in high-quality equipment pays off by ensuring optimal safety features like lane departure warnings and automatic emergency braking function flawlessly, enhancing both the driving experience and vehicle reliability over time.
Step-by-Step Guide to Camera Alignment and Testing
To ensure your Tesla’s Autopilot system functions optimally, proper camera alignment and calibration are crucial. Here’s a step-by-step guide to help you navigate this process safely and effectively:
1. Power Off and Prepare: Start by powering off the vehicle completely. Ensure all doors are closed tightly. This step is vital for accurate measurements, as any movement could impact results.
2. Access Calibration Tools: Tesla provides dedicated calibration tools within its software suite. Access these tools through your vehicle’s settings menu. You’ll need to connect your phone and follow on-screen instructions to initiate the calibration process.
3. Windshield Positioning: Adjust your Tesla’s windshield to a neutral position, ensuring it’s not tilted or curved in any way. This positioning guarantees accurate readings from the front cameras.
4. Camera Calibration: The system will guide you through a series of visualizations on your connected device. You’ll need to adjust various settings until the cameras align perfectly with your Tesla’s windshield. This step involves fine-tuning the camera’s focus, field of view, and distortion correction parameters.
5. Testing: After successful calibration, perform a test drive in a safe, open area. The system should accurately detect lane markings, traffic signs, and obstacles without any significant deviations from expected behavior. If any issues persist, return to the collision repair center for further adjustments. Remember, precise camera alignment is critical for safety features like Autopilot and is essential after an auto glass replacement or fender bender repair.
Tesla windshield calibration is a critical process that ensures the safety and effectiveness of your vehicle’s Autopilot system. By following the proper procedures, outlined in this article, owners can maintain optimal camera alignment and reestablish any lost calibration. With the right tools and a step-by-step approach, you can confidently calibrate your Tesla’s windshield, enhancing both driving experience and passenger safety on every journey.